"Pictures hold life's experiences, and with every experience you learn something. Therefore, you learn something with every picture you take." -unknown
With each month as I post a new "light challenge", I think, 'oh, I just love this kind of light.' This month's challenge is no different. I love this light, too! This month's challenge is
NIGHT LIGHT. You, too, will fall in love with the different kinds of light you will get to experiment with, and enjoy. I have several tutorials for you to try, and will post the "how to" for all of them, so keep checking the blog for the techniques. Look forward to learning how to shoot 1. Cityscapes; 2. light painting; 3. milky way, constellations, stars; 4. star trails (although I have never done this, but would like to); 5. night portraits.
I hope you will try all of these techniques. Each one produces a different outcome.
I thought I would start with cityscapes. Many of you will be traveling this summer, and may find some gorgeous cityscapes. If you are not traveling, do not fret. Roswell really is pretty at night. I know that is hard to believe. We have several buildings that would be great at night: Navajo Refinery, Leprino, and another other building with lights.
Safety first
Since you will be out at twilight, or dusk, I recommend (especially the ladies) that you bring a partner to act as a second pair of eyes to watch over the situation. They do not have to be a fellow photographer, but someone to make sure you are safe.
Equipment
DSLR
tripod
wireless shutter release is nice, but not necessary. You can use one with a wire, and if you do not have a remote shutter release, use the timer on your camera.
Timing
We are looking for the pretty blue sky...before it turns black. This kind of sky is captured best about 30 minutes after twilight or dusk. Many iPhones have the sunrise/sunset times included with the weather app. Or check online to see the time of expected sunrise/sunset.
Settings
You are going to want to use a tripod, because your shutter speed is going to be long. Because you want lots of depth of field set your aperture at f/5 or higher. I set my ISO between 100-200. Make sure you get to your location 15-30 minutes before the "blue" time. Set your camera on
MANUAL mode. I know this is scary for some of you, but believe me, you will get better photos when you are in control of your settings, and not at the mercy of your camera. For a starting point, I set my aperture, and ISO. Then, I meter on the buildings, or subject matter to get the exposure of the city lights. Once you have the exposure for your subject, wait until the sky is the right blue at that exposure. You may have to take several pictures until you get the right blue. Just do not wait too long. Your shutter speed will vary.
Note:
To take pictures of the Milky Way, and Stars, and doing star trails, you will need to go out when there is a new moon. (moon is totally black). Our next new moon will be June 27, so mark your calendars.
Rules
1. No archival photos. The photos must be taken between June 19-July meeting
2. No more than 4 pictures. Hopefully, you will take one/week.
3. Any media is okay: prints, CD, thumb drive, matted, framed, unframed
4. While you do not have to state the information, try to have it available if there are questions as to how you shot it
5. Have fun.
Here are some photos to get your creative juices going.
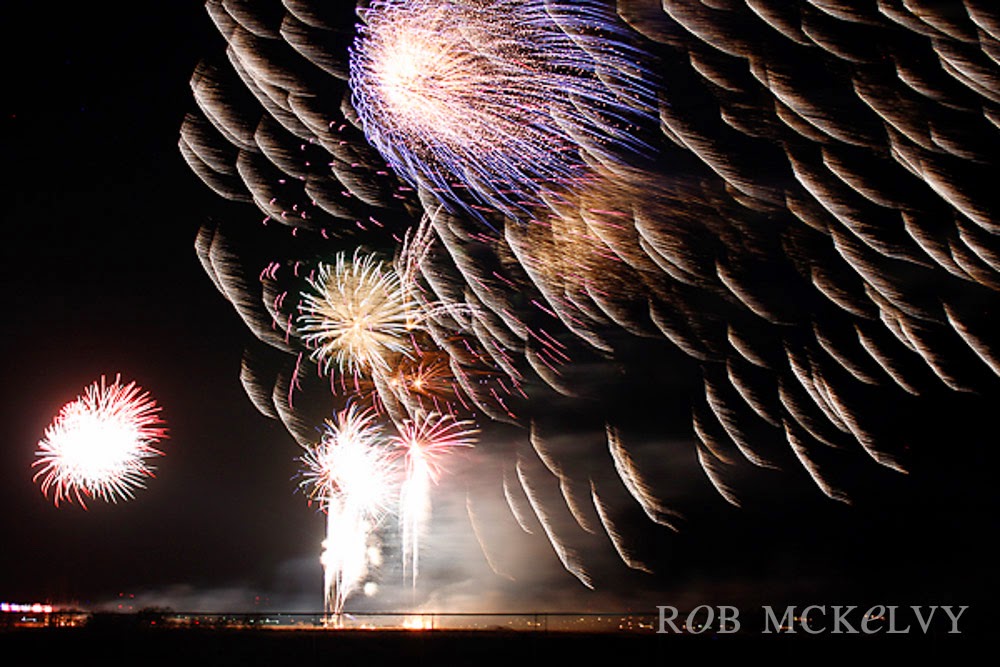 |
| Aperture f/4.5, SS 4 sec., ISO 200 |
 |
Light painting
aperture: f/4.5; SS: 15sec; ISO 100 |
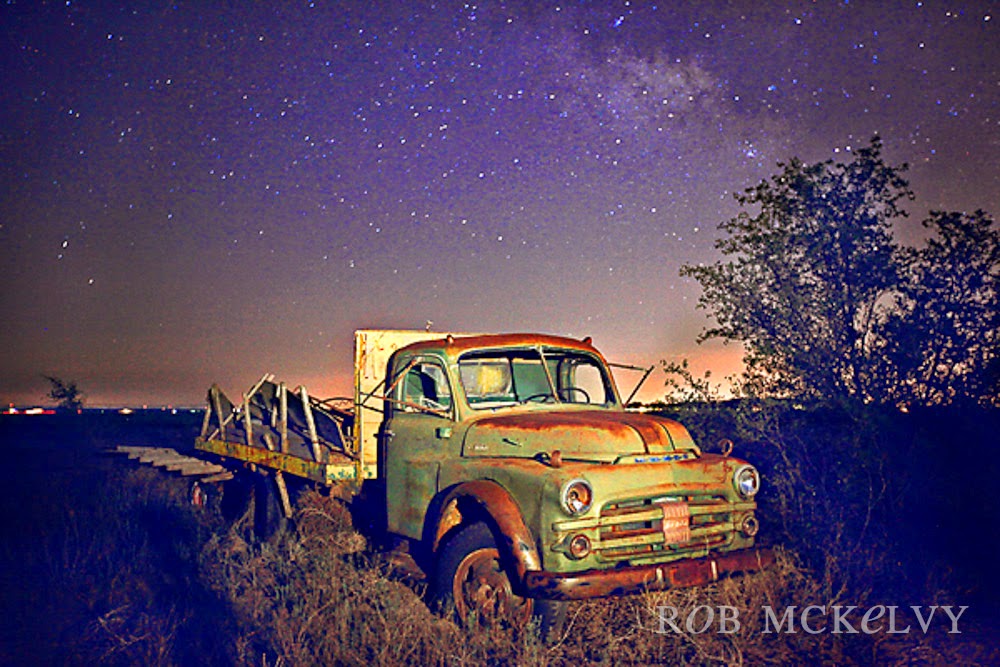 |
Light painting, milky way, and stars
aperture: f/3.5; SS 25 sec.; ISO 1250 |
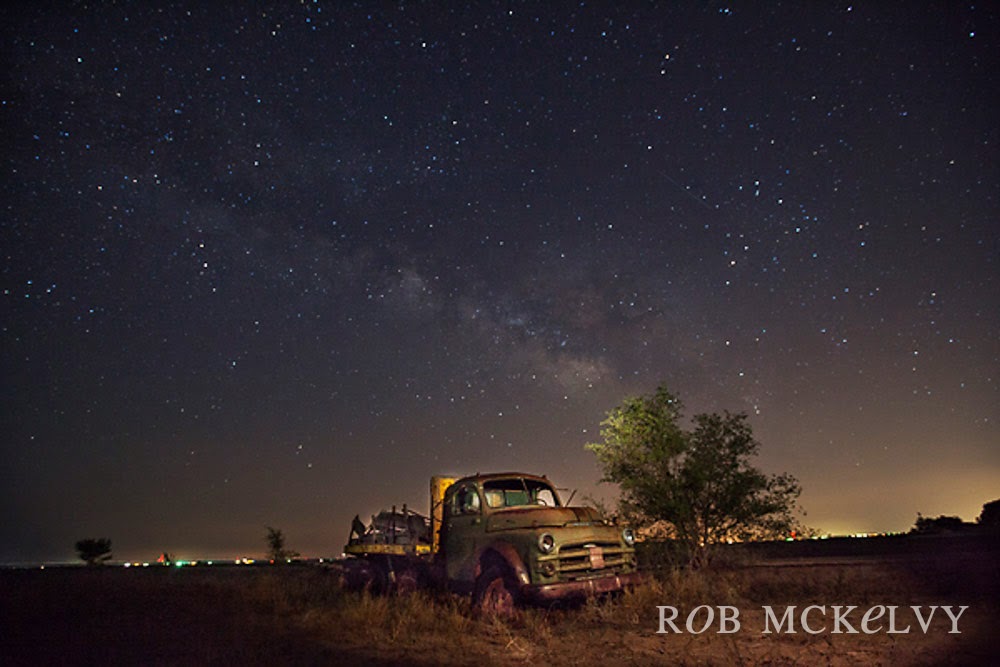 |
Milky Way, stars
aperture: f/3.5; SS 25 sec; ISO 2500 |
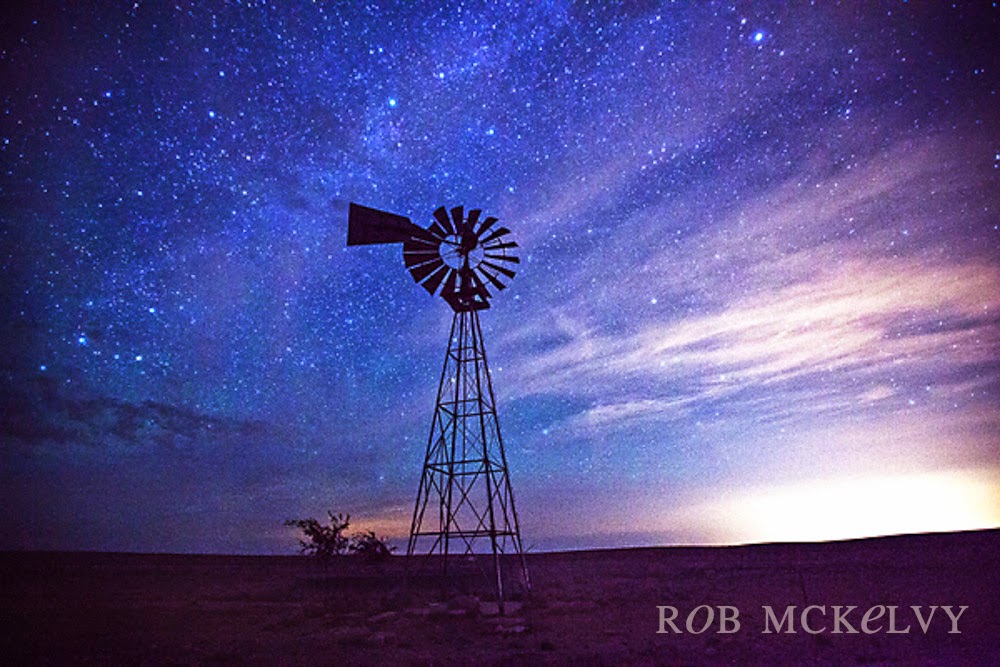
 |
Stars
aperture: f/2.8; SS 25 sec.; ISO 5000 |
 |
light painting
aperture: 2.8; SS 25 sec.; ISO 3200 |
 |
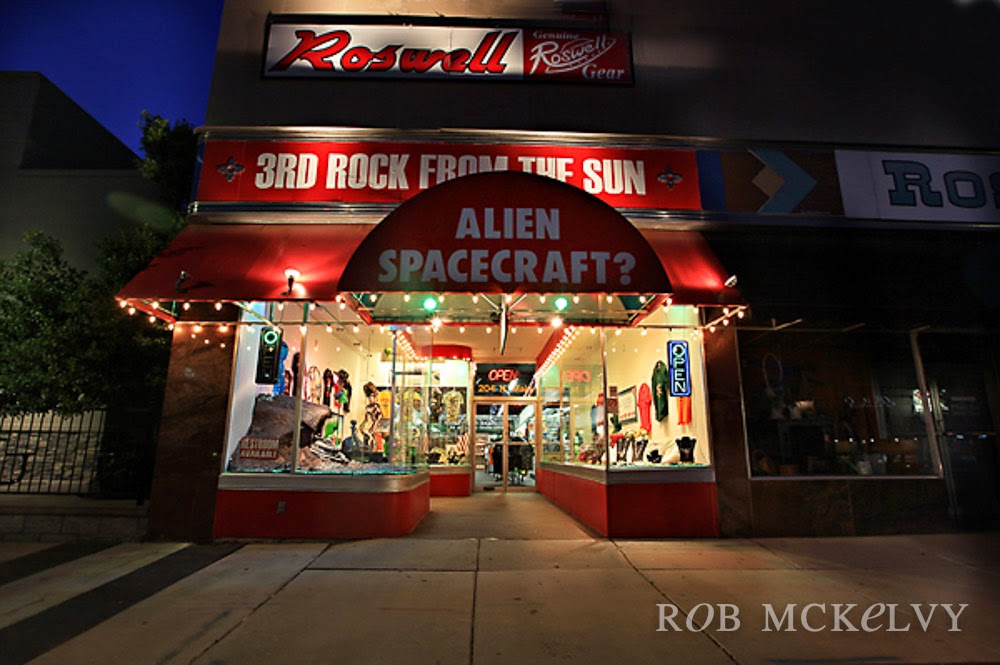
city lights to the right. This was totally dark outside.
settings same as above |
 |
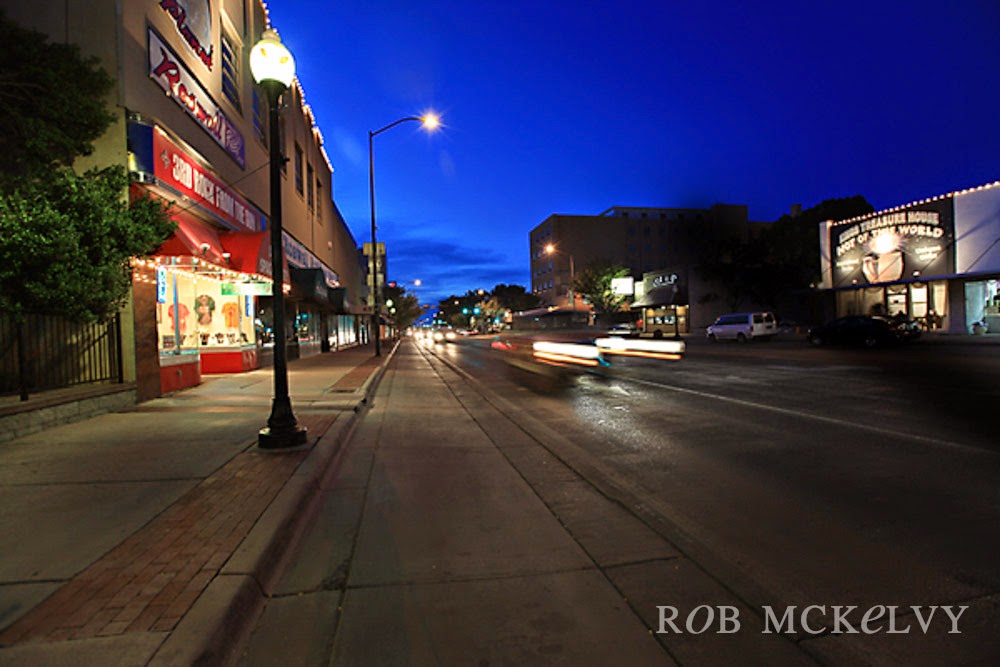
Cityscape
aperture: f/5.0; SS 0.8 sec.; ISO 100 |
 |
| settings same as above |
 |
| aperture: f/5.0; SS 0.4 sec.; ISO 100 |
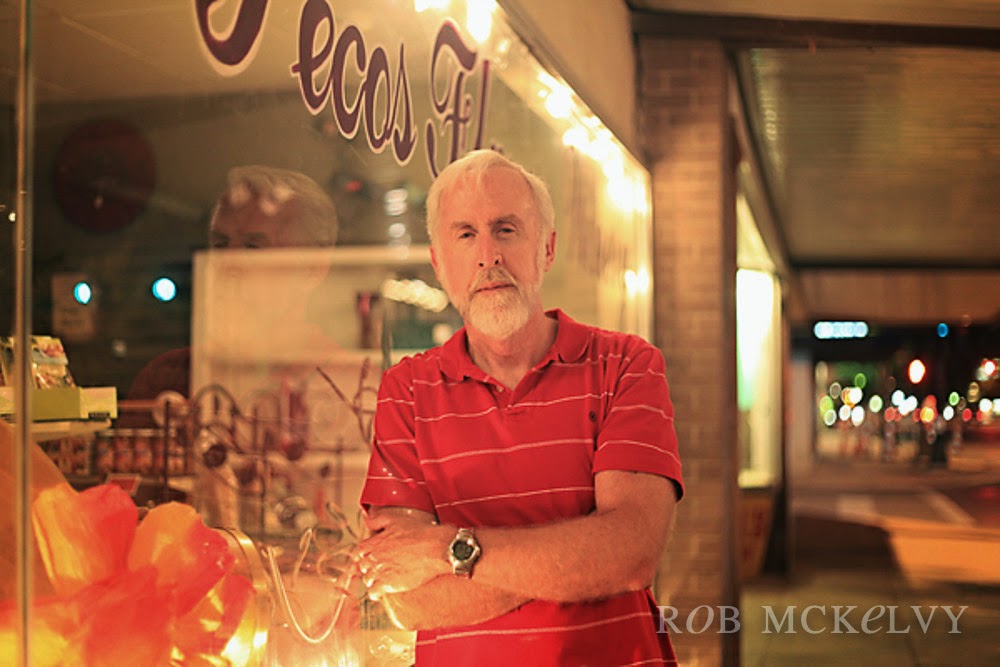 |
Night portrait
aperture: 1.8; SS 1/20 sec.; ISO 100 |
 |
| Aperture: f/5.6; SS 30 sec.; ISO 200 |
July is such a great month to get out at night for some different, and beautiful photos. It is warm out, and there are a lot of outside activities just waiting to be photographed. Experiment, and learn. You will be so happy with your photos. Go out and get clicking.


